Lots of progress has been made on the tiny house in the last week!
1. Nate and I built the custom headers that will span the wheel wells. They consist of PT 2×10, PT 1/2″ ply, and PT 5/8″ ply. The underside is sprayed with (nasty) polyurethane truck bed liner. The idea is that they may get wet, but it doesn't matter.
We're creating a membrane to prevent water from touching the house inside of the wheel wells. It will be comprised of metal flashing and Ice & Water shield. I'll have more details on this when we actually build it.
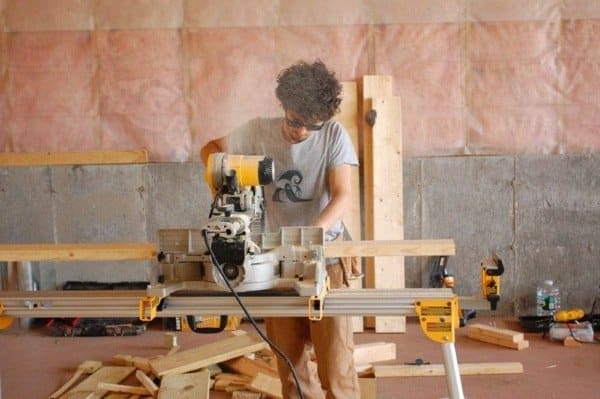
We also built those fancy saw horses you see in the photo:


2. I went in 50/50 on a sliding compound miter saw with my dad! It's a DeWalt DW-717 and has a 10″ blade. I had been borrowing Nates, but since he's doing more field work these days he needed to bring the saw with him whenever he left. It was clear that I needed my own.


3. Kim from Montpelier (a tiny house volunteer) came back to help, and we framed the entire bathroom end wall! Now, I know all you builders out there are going to be like “WHAT THE F&%$#”, but the angled top plate was necessary to accommodate the window we put in the loft. Plus, it's what the architect wanted, so who am I to say no?
Once I figured out how to calculate the stud lengths (I used math) it wasn't too hard. It was great to have Kim there to check my logic and help me lay it all out!
Here it is in progress:

And all done:

We haven't actually nailed it all together yet (because we may need to notch the top plate to accommodate the ridge beam), but it's all laid out and ready to go!

